Introduction
Painting is an art form that blends creativity, technique, and patience. Among the many methods that artists use to bring their works to life, glazing stands out as one of the most sophisticated and rewarding. This centuries-old technique has been used by masters like Rembrandt and Vermeer to create luminous, layered effects that add depth, realism, and emotion to their paintings.
In this guide, we will explore what glazing is, how it works, the materials required, and how modern artists can master this timeless painting technique to elevate their craft.
1. Understanding Glazing in Painting
Glazing is the process of applying thin, transparent layers of paint over a dry, opaque layer. Each glaze modifies the appearance of the colors beneath, creating a rich and luminous visual effect. Instead of mixing colors directly on a palette, glazing allows colors to blend optically, producing depth and subtle tonal transitions.
For example, when a transparent blue glaze is applied over a yellow base, the result appears green but with more glow and vibrancy than a directly mixed green paint.
2. Why Artists Use Glazing
Glazing offers unique visual qualities that cannot be achieved through direct painting alone. Some of the main reasons artists use glazing include:
-
Depth and Luminosity: Each transparent layer interacts with light, giving the painting a glowing effect.
-
Color Control: Artists can fine-tune tones and shadows gradually without muddying the colors.
-
Soft Transitions: Perfect for smooth skin tones, atmospheric effects, and realistic textures.
-
Corrections and Enhancements: Glazing helps adjust contrast, temperature, and highlights even after the initial paint has dried.
3. Materials and Tools for Glazing
To achieve professional results, artists should work with the right materials. Here’s what you’ll need:
a. Paints:
Use transparent or semi-transparent oil or acrylic paints. Common glazing colors include alizarin crimson, ultramarine blue, and burnt sienna.
b. Media:
A glazing medium thins the paint and enhances its transparency. Popular options are:
-
For oil painting: Linseed oil, stand oil, or a commercial glazing medium.
-
For acrylic painting: Acrylic glazing liquid or matte/gloss medium.
c. Brushes:
Soft, wide brushes (such as sable or synthetic) are ideal for spreading smooth, even layers.
d. Surface:
A smooth primed canvas or wood panel helps create consistent glazes. Textured surfaces may trap paint unevenly.
e. Palette and Cleaning Tools:
A glass or ceramic palette works best. Keep clean cloths and odorless thinner handy for controlling paint consistency.
4. Step-by-Step Guide to Glazing
Here’s how to apply glazing in a structured, effective way:
Step 1: Paint the Underlayer (Grisaille or Base Color)
Start with a dry underpainting that defines values and forms. This layer acts as the foundation for all subsequent glazes.
Step 2: Prepare the Glaze
Mix a small amount of transparent paint with your glazing medium. The ratio can be 1 part paint to 4–5 parts medium for maximum transparency.
Step 3: Apply the Glaze
Using a soft brush, gently apply the mixture over the desired area. Avoid over-brushing to maintain an even film.
Step 4: Let It Dry Completely
Each glaze must dry before adding another. This ensures clarity and prevents smudging or cloudiness.
Step 5: Build Up Layers Gradually
Apply multiple layers to increase depth and intensity. Each additional glaze subtly alters the color and light interaction.
Step 6: Final Touches and Varnishing
After the final glaze has dried, apply a protective varnish to enhance color richness and preserve the painting.
5. Tips for Perfect Glazing
-
Use Transparent Paints Only: Opaque colors block light and reduce the glazing effect.
-
Work in Thin Layers: A little goes a long way. Thin applications maintain clarity.
-
Control Light and Color Temperature: Warm glazes can enhance sunlight, while cool glazes deepen shadows.
-
Avoid Overmixing: Let optical blending create natural transitions.
-
Patience is Key: Allow each layer to dry completely before moving forward.
6. Common Mistakes to Avoid
-
Applying glazes too thickly, causing cracking or dullness.
-
Using opaque pigments that eliminate transparency.
-
Skipping drying time between layers.
-
Using too much medium results in sticky surfaces.
By practicing control and patience, artists can avoid these issues and achieve stunning, professional results.
7. Glazing in Different Media
Oil Painting:
Oil glazes are traditional and known for their rich depth. They take longer to dry, offering flexibility for blending and correction.
Acrylic Painting:
Acrylic glazes dry faster and require glazing mediums for transparency. Ideal for artists who prefer faster layering.
Watercolor Glazing:
Though not called “glazing” traditionally, layering translucent washes in watercolor achieves a similar luminous effect.
8. The Artistic Power of Glazing
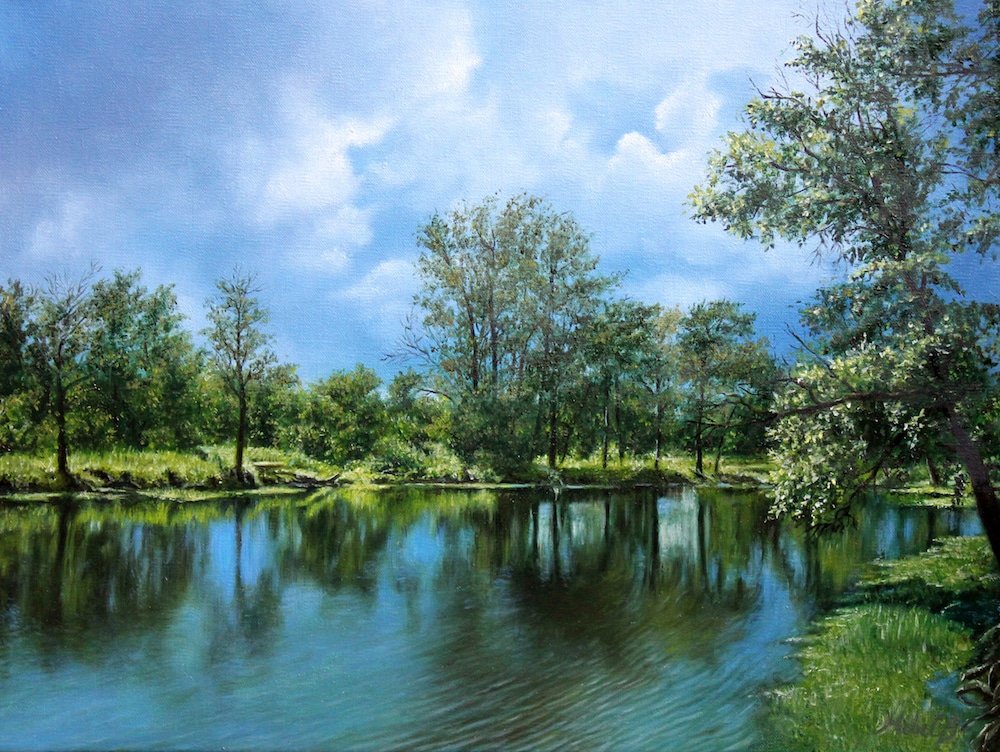
Glazing adds a dimension of magic to paintings, from luminous portraits to glowing landscapes. It allows artists to control mood, atmosphere, and realism with precision. The technique transforms simple colors into breathtaking visuals that appear to shine from within.
It’s not just about applying transparent paint; it’s about mastering light, emotion, and artistic storytelling.
Conclusion
Mastering glazing is a journey of patience, observation, and experimentation. It teaches artists to see beyond surface color and understand how light interacts with paint. Whether you’re an oil painter seeking classical depth or an acrylic artist aiming for modern brilliance, glazing offers endless creative possibilities.
Through consistent practice and attention to detail, any artist can unlock the timeless beauty of glazing and bring a new level of sophistication to their artwork.
FAQs
1. What is glazing in painting?
Glazing is a technique where thin, transparent paint layers are applied over dry paint to create depth, luminosity, and smooth transitions of color.
2. Can glazing be done with acrylics?
Yes, acrylic artists can use glazing mediums to thin paints and achieve a transparent, luminous effect similar to oil glazes.
3. How many layers of glaze can I apply?
There’s no fixed number, but most paintings use between 3 and 10 layers, depending on the desired richness and depth.
4. How long should I wait between glazes?
In oil painting, wait 1–3 days for each layer to dry. In acrylics, 15–30 minutes is usually enough, depending on thickness.
5. What makes a good glazing color?
Transparent pigments like alizarin crimson, ultramarine blue, or burnt umber work best for creating clear and glowing effects.